1. creating games
Start by clicking on “create a game” in the right corner.
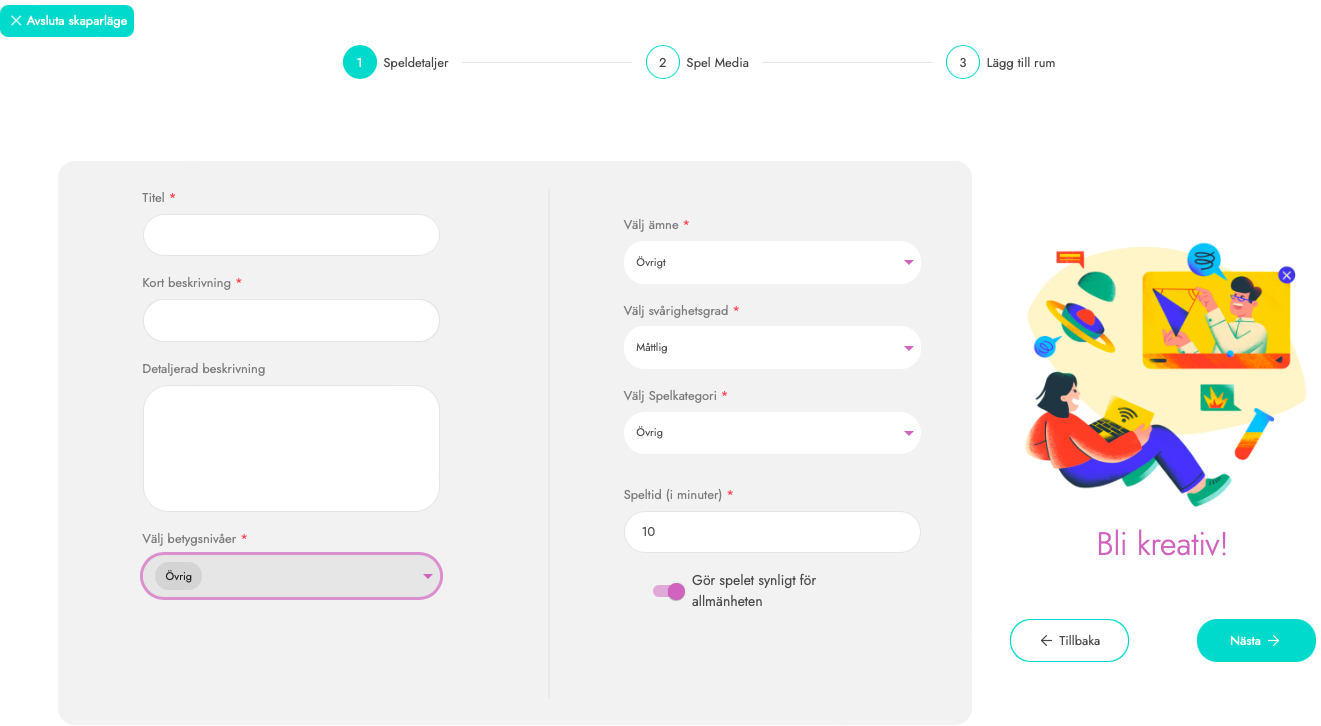
You can now add information about your game, such as title, topic, instructions, etc.
- Short description: Short information about the game as seen in the game card.
- Detailed description: Here you can write in more detail about the game, e.g. instructions, background story, etc.
- Select rating levels: Here you decide which age groups the game is suitable for. You can choose several.
- Game Time: Here you decide how many minutes the players have to complete the mission.
- Make the game visible to the public: If you want to publish your game so that others can see and play it, check this box.
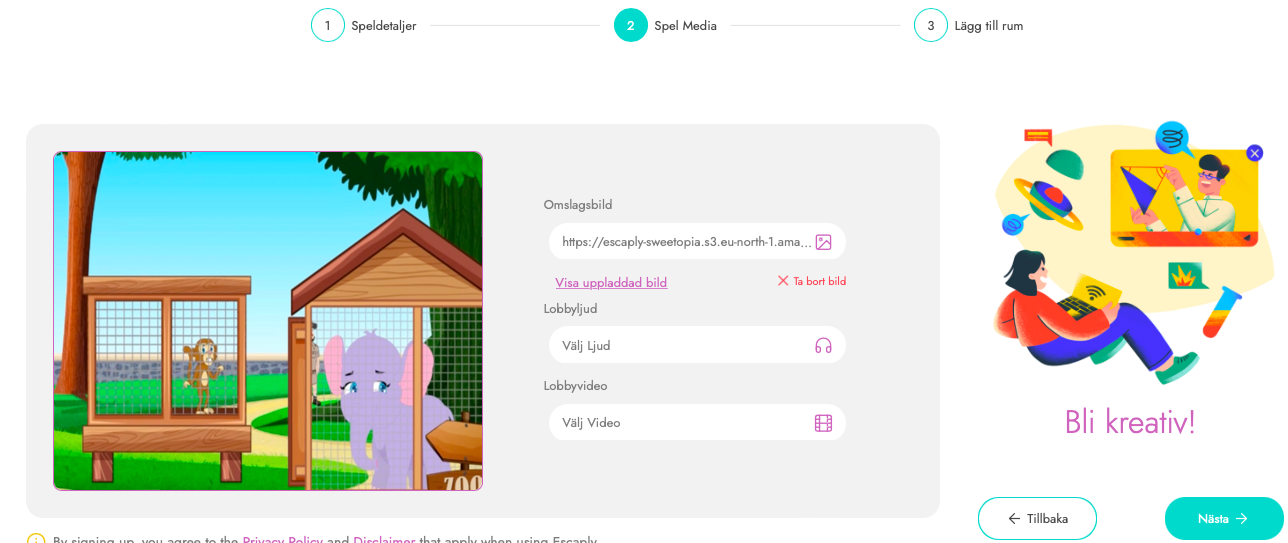
2. Game Media (Add multimedia)
Cover image: Add the image you want as a cover image.
Lobby sound/lobby music: If you want to add a sound recording or background music to be played in the lobby, do this (max 25MB).
Lobby video: Here you can upload a video to be played in the lobby. This is a great way to build the story of the mission they are about to play. (Max 50MB)
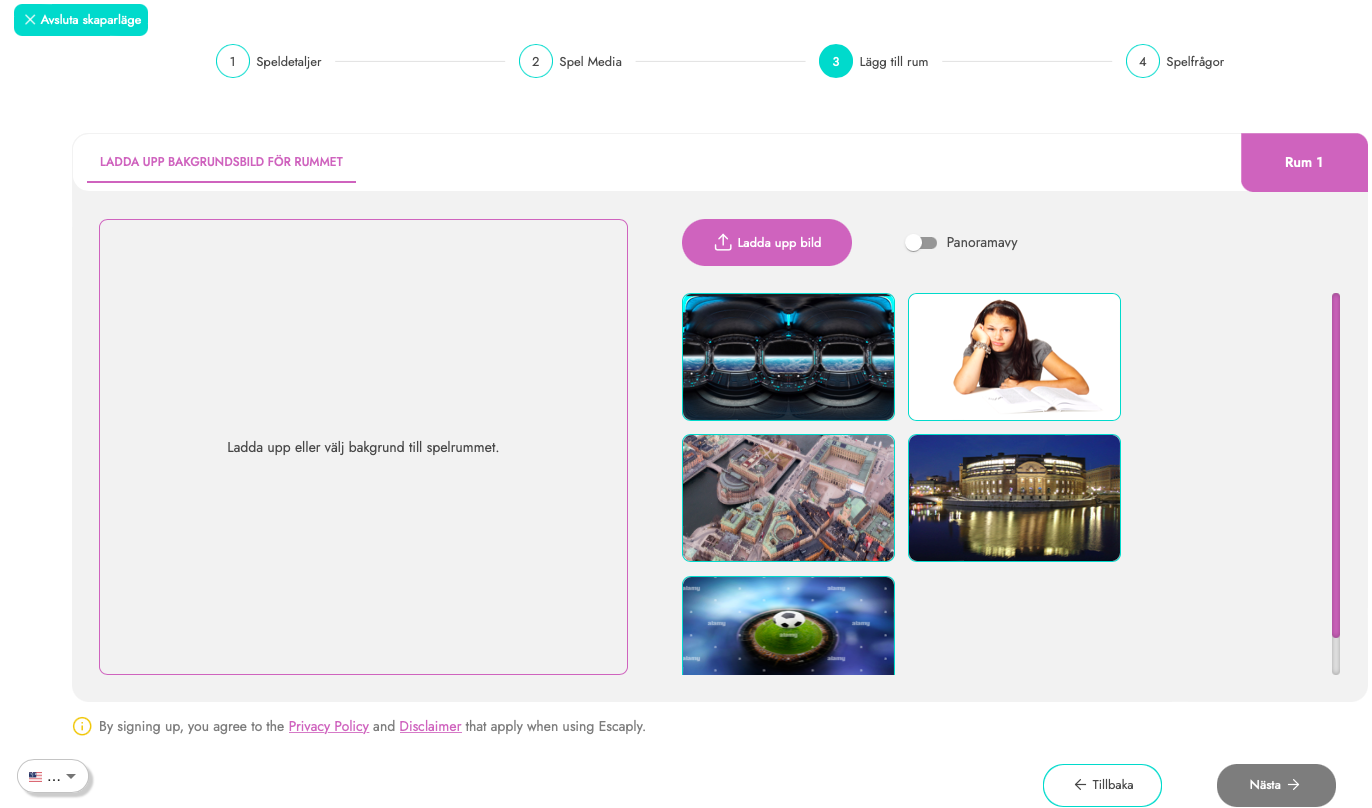
3. Add rooms
- Upload image: Here you upload the image you want to use as background/playing surface.
- Panoramic view: Click this if you have uploaded a 360 image/panoramic image to make the game even more vibrant. For example, take a panoramic picture of the classroom with your phone and have students run around looking for clues. OBS, max 10MB
4. Creating rooms
Now it’s time to start adding content and tasks. On the right, you can click on an arrow to bring up the menu.
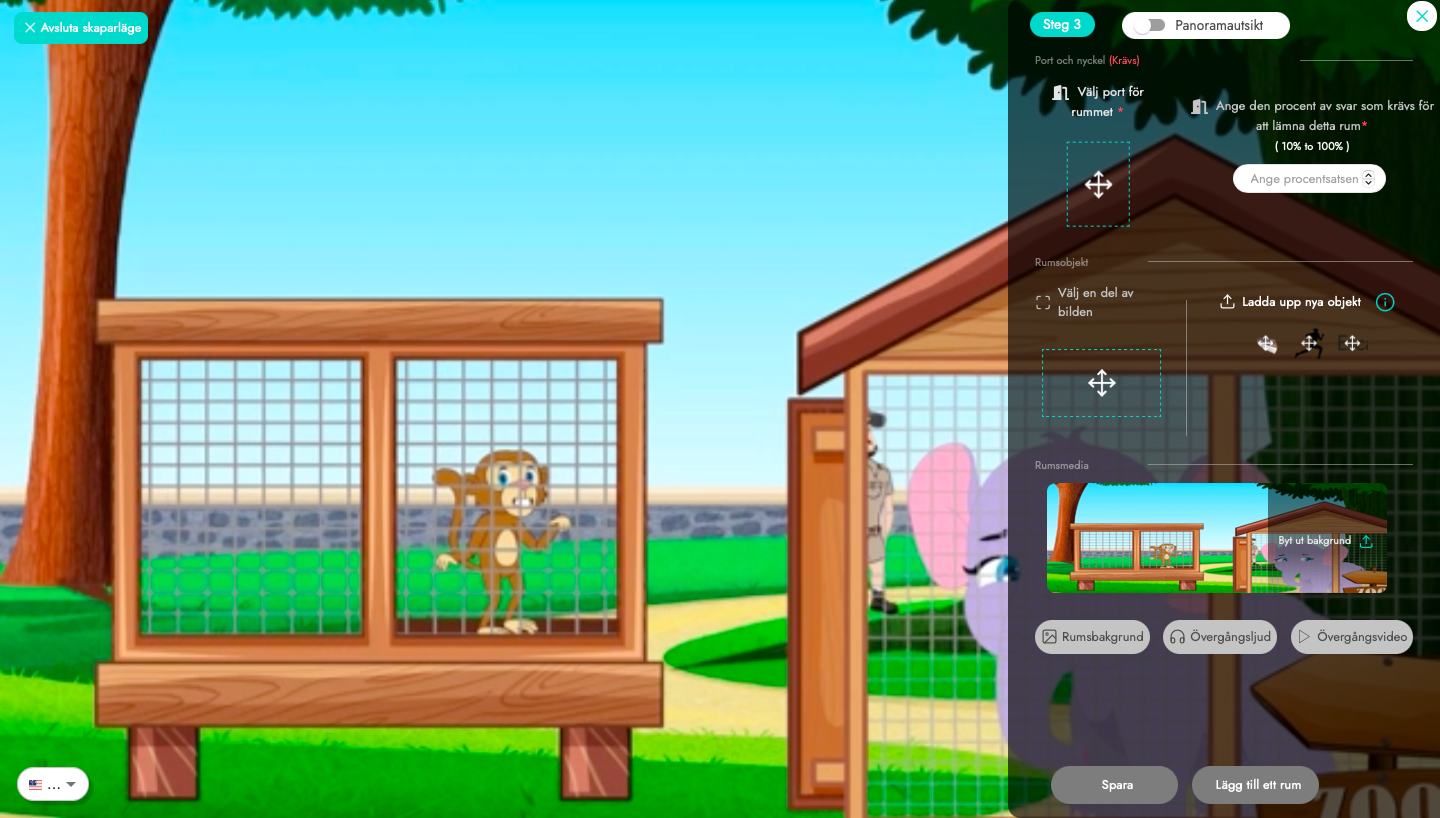
MENU OPTIONS – Add questions, clues or a way out.
- Select port for the room: Here you place the exit from this room. Mark an area on the game surface that students must click to exit when they have completed the percentage of questions you specify in Set the Percentage.
- Set percentage: Here you decide what % of the questions the students have to answer correctly for the exit to open.
- Select a part of the image: Here you have marked an area of the image that you want to make into a question or “clue”.
- Upload a new item: Here you can add your own images that you can turn into questions or “clues”.
- Save: Once you have placed your questions and determined the % correct for exit, click Save. The game is then saved and added to your library under “My Games”.
- Background: Click here to change the background
Transitional audio and video:. This is a great way to continue to build on or finish the story.
- Transition sound: Here you can post an audio recording that plays between two rooms (if you have selected your game to contain multiple rooms).
- Transition video: Here you can upload a movie that plays between two rooms.
- Save: Click here to save your game and exit.
- Add rooms: Do you want your game to consist of several rooms? Click here to continue the adventure.
Placing objects
To place objects, you can either choose to upload an image or use “Select a part of the image”. Both are drawn on the workspace where you can choose between Question or Clue.
You can then choose to resize by clicking the arrows on the object (bottom right corner) and dragging and dropping. You can reposition the object by moving the mouse to the object until a hand appears. Then you hold, drag and drop it in any location.
To add a question , click on the pen (top right corner).

Select the question type: Here you can create questions for students to answer. Currently, we have single-choice questions, multiple choice questions and (short answer – text/numbers).
You can also add an image or video to the question by clicking on Add media in the question. Maybe students need this information to answer the question?
Exit/Save
To finish, click on Save in the menu and your game is now in “My Games“.
Share games
To share games, you can either choose one of your own under “My games” or find a game in the library under Discover. The public library will be continuously replenished with games of different topics and ages that you can easily copy.
To share your own game with your class, go to My Games and click on the game you want to share. You will then be taken to the game page where you have some more information and can make changes to the game.On the left you have Go to lobby.
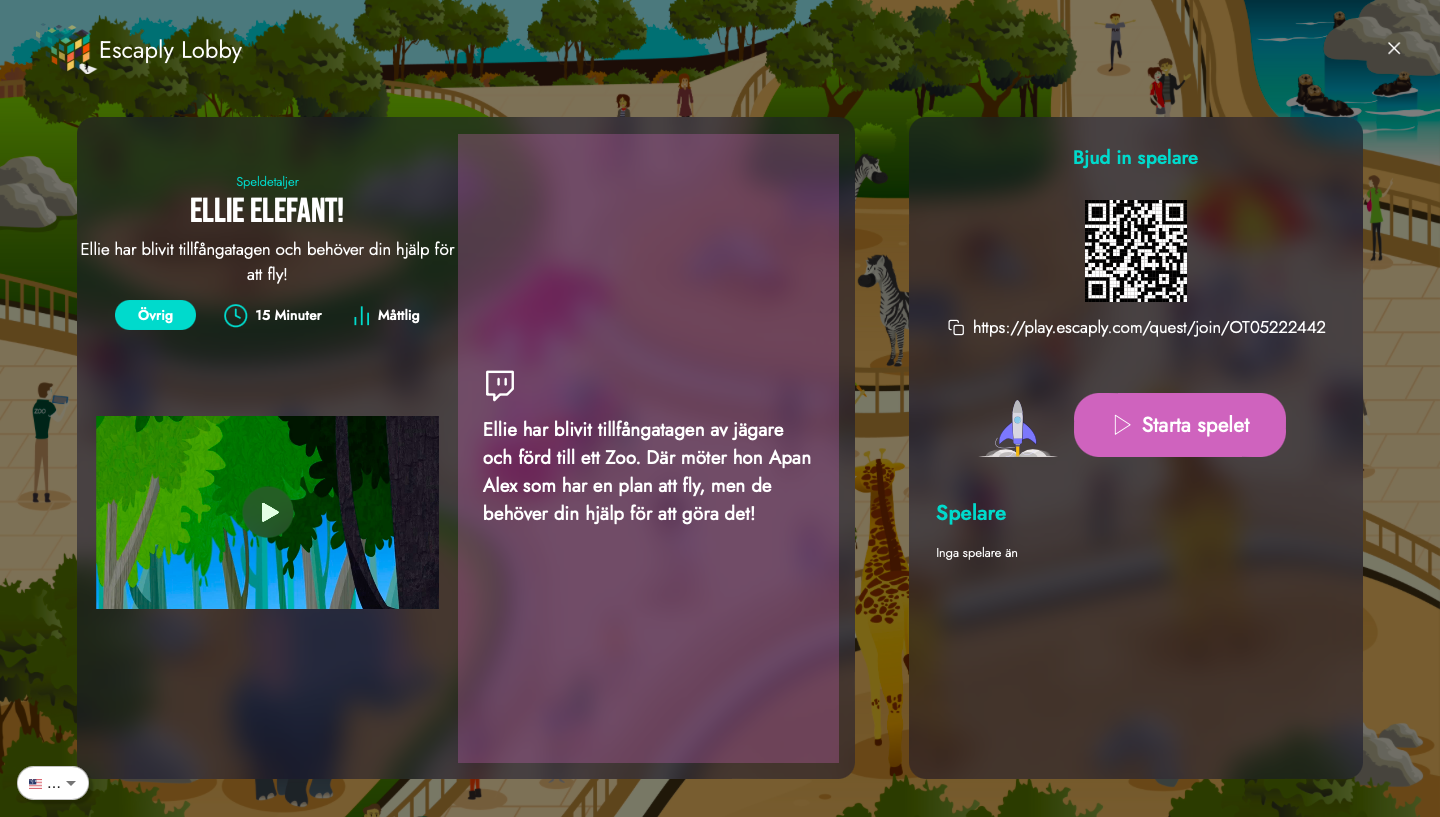
Once inside the lobby, you have the opportunity to invite players by:
- Share link (click on the link and share with your students)
- QR Code (click on the QR code to enlarge) NB, mobile app will be released shortly.
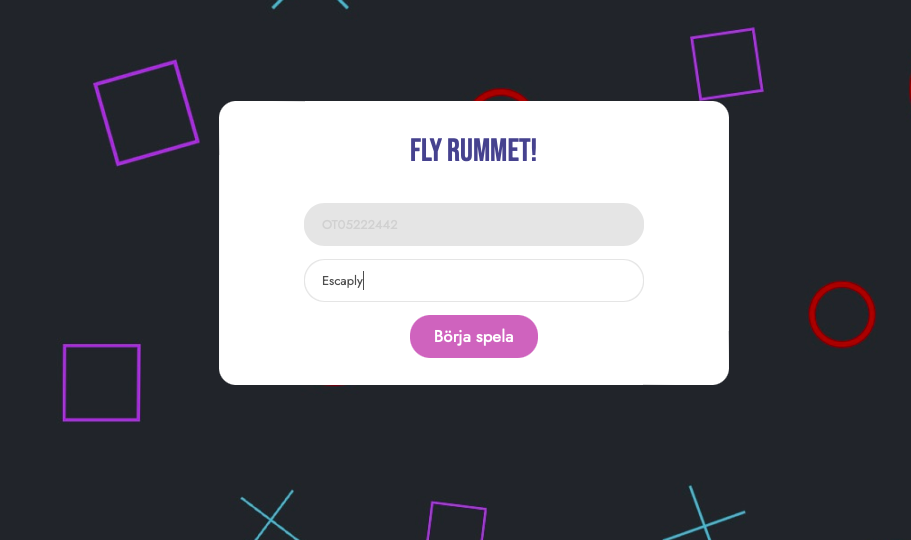
When students click on the link, they are presented with a page where they need to enter their name or nickname (bear in mind that you may need to know who is who).
Players: Here you can see all the players/students joining the game.
When all players are in, click on “Start the game“.
PS, Ask students to click on the video if they are playing by themselves. If you are sitting in the classroom, it might be a good idea to show the movie on a large screen, with only you as the game leader.
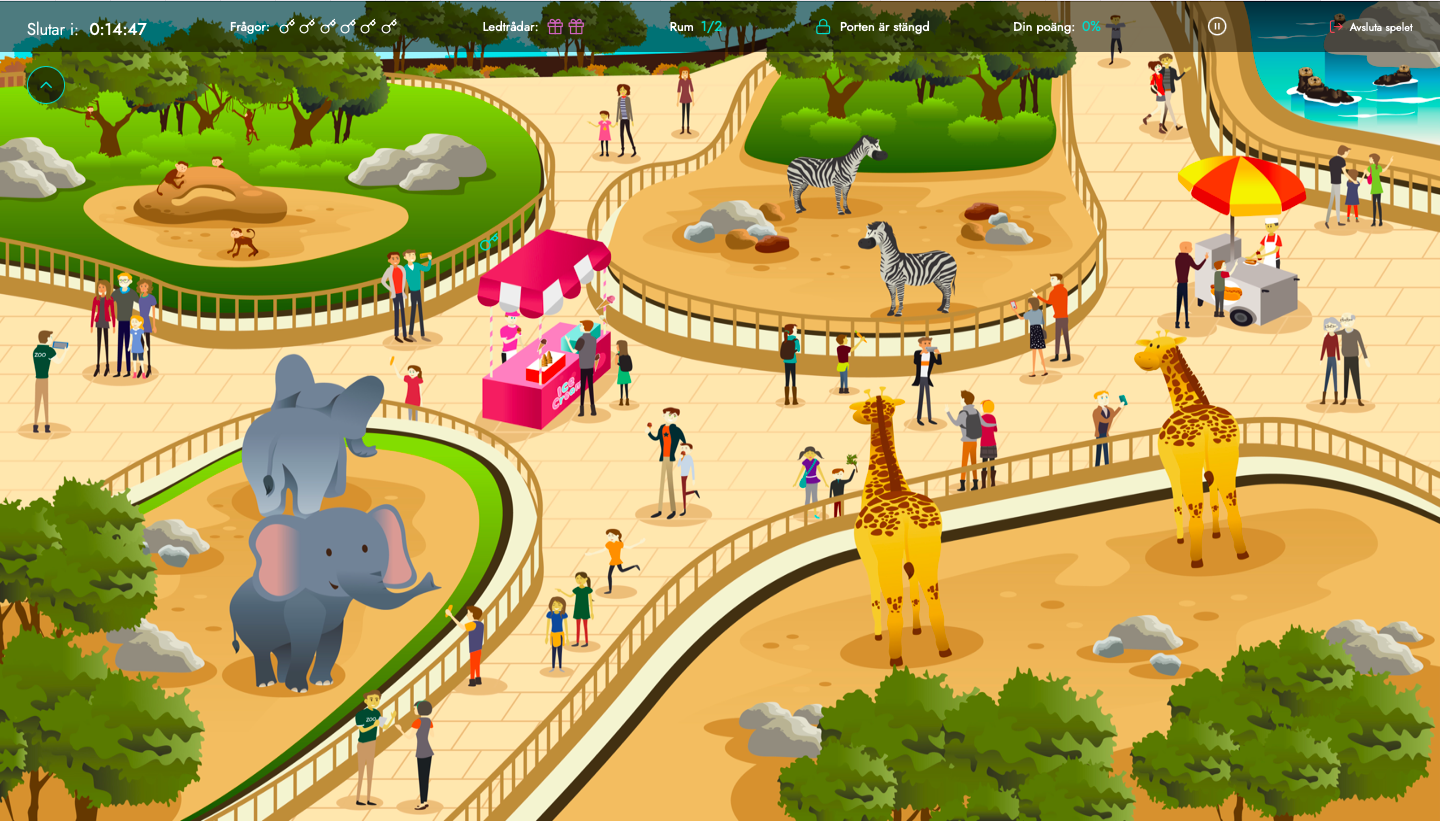
Play
When you click on play, the countdown starts and the players are brought into the game. Here they look for clues and questions to help them complete the mission. When they see a hand on the workspace, they can click and a question or clue appears. After a question has been answered, they see a marker over the item. At the top of the menu bar they can also see how many questions have been answered, how many questions are left and how much time they have left. Besides that, they can also see how many clues are left to find and how many rooms the game consists of. When enough questions are answered correctly, the gate opens and they can get out.
Discover
Here you can search for ready-made games that you can easily share directly with your students or copy to make your own version of it. The more the library grows, the more you will be able to filter games customized by specific subject, grade or difficulty level. You can also find other filters such as ‘popular’, themes, etc.
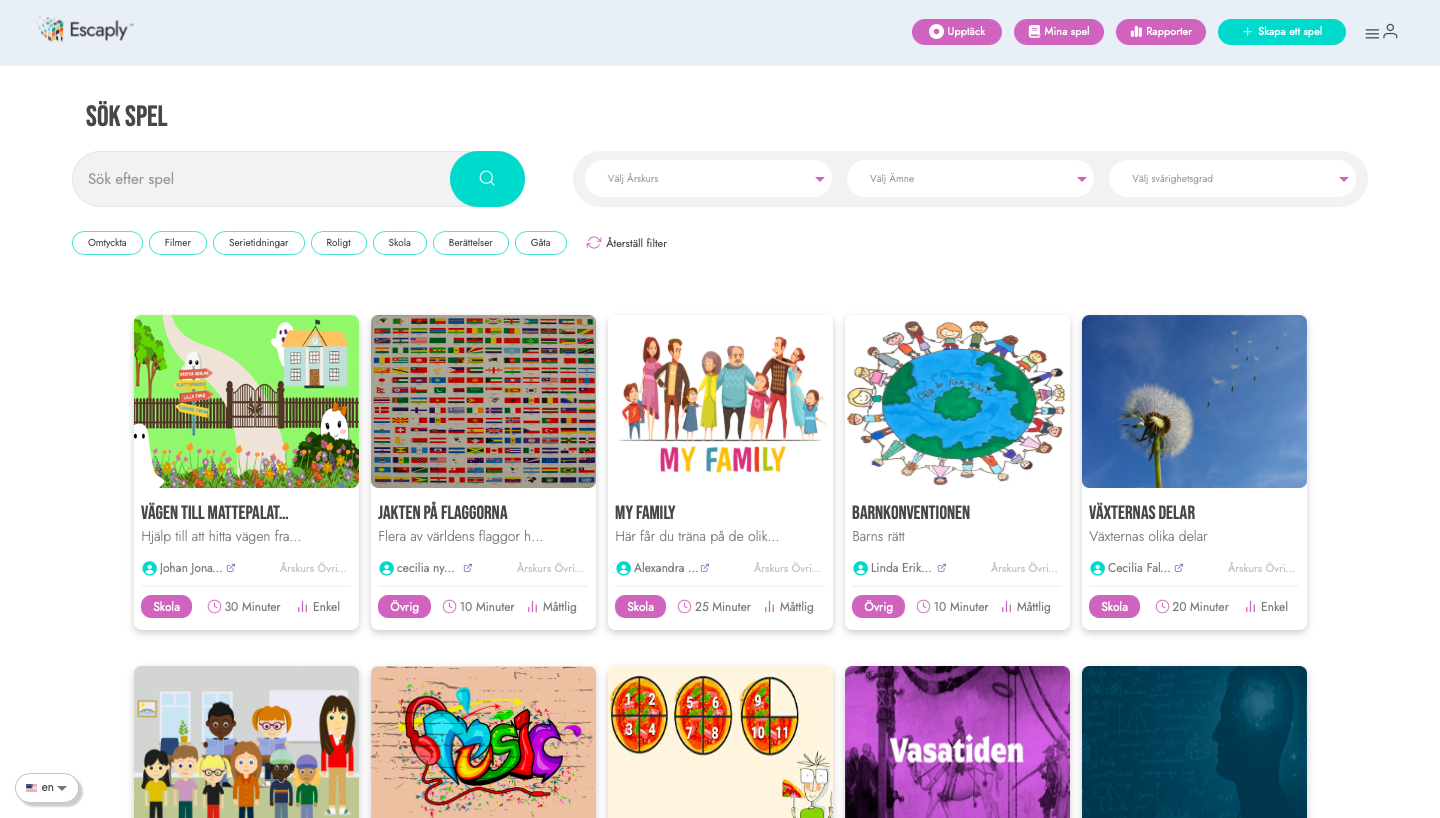
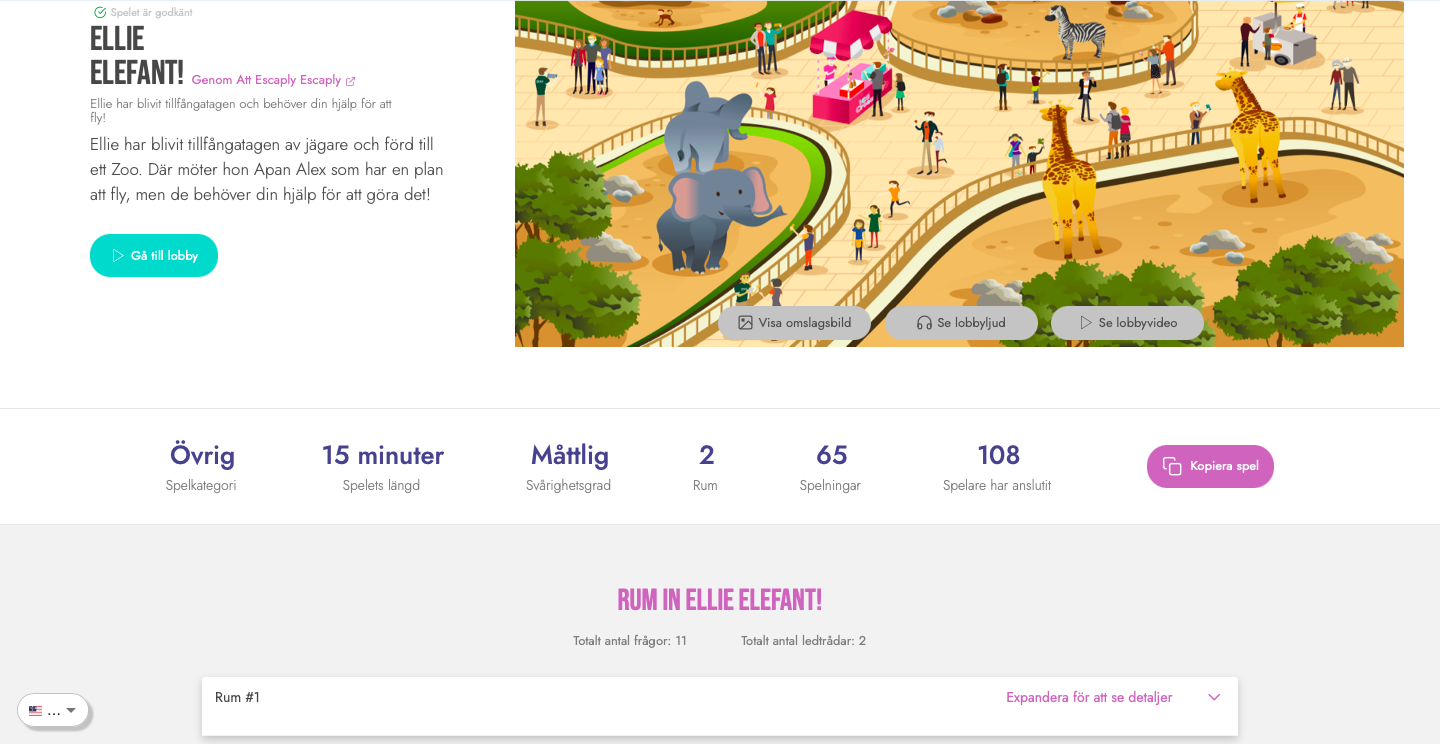
When you find a game that you find interesting, click on the game card. You are then guided to an information page about the game where you can find:
Story of the game, background,game category,length of the game,level of difficulty and number ofrooms. In addition, you can also look at the questions already added in each room.
If you want to create your own version of the game, click on copy game and then go in and change anything you want (questions, story, time, etc.).
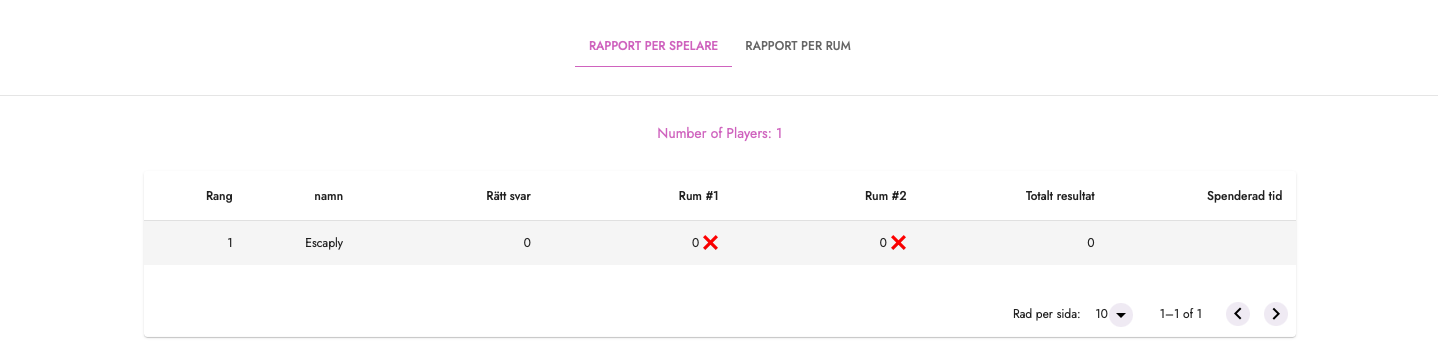
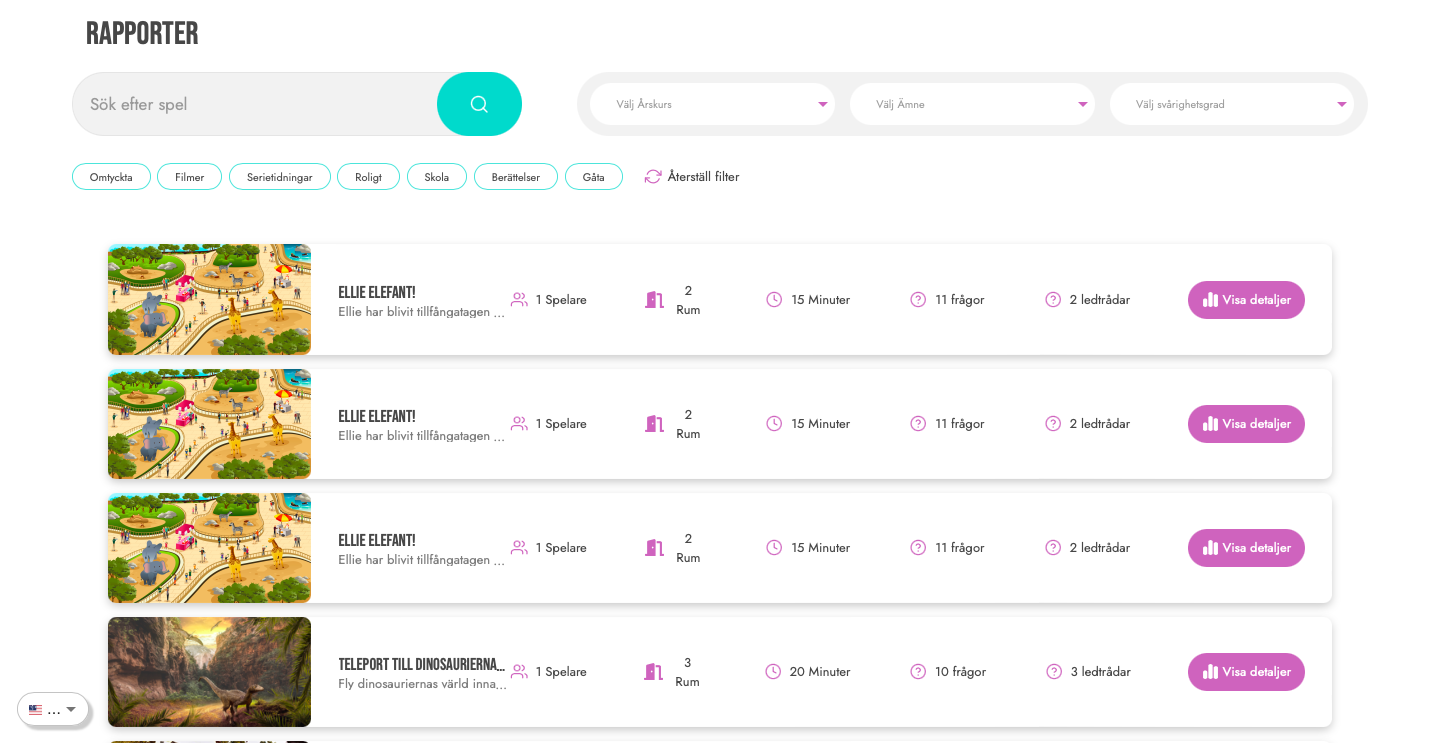
Reports
Under reports, you can find previous games you and your students have played to see their results. Again, you can search by room or filter by subject, grade and level of difficulty.
To know more click on“view details”
View details
Here you will find information about the players such as number of correct, total result, time spent. You can also choose to get reports per room . This can be a good way to get information if the rooms are based on difficulty level. It also lets you know if the content is too difficult, simple, unclear, etc.